- OEM
- China
- 10 days
- Five million pieces in one month
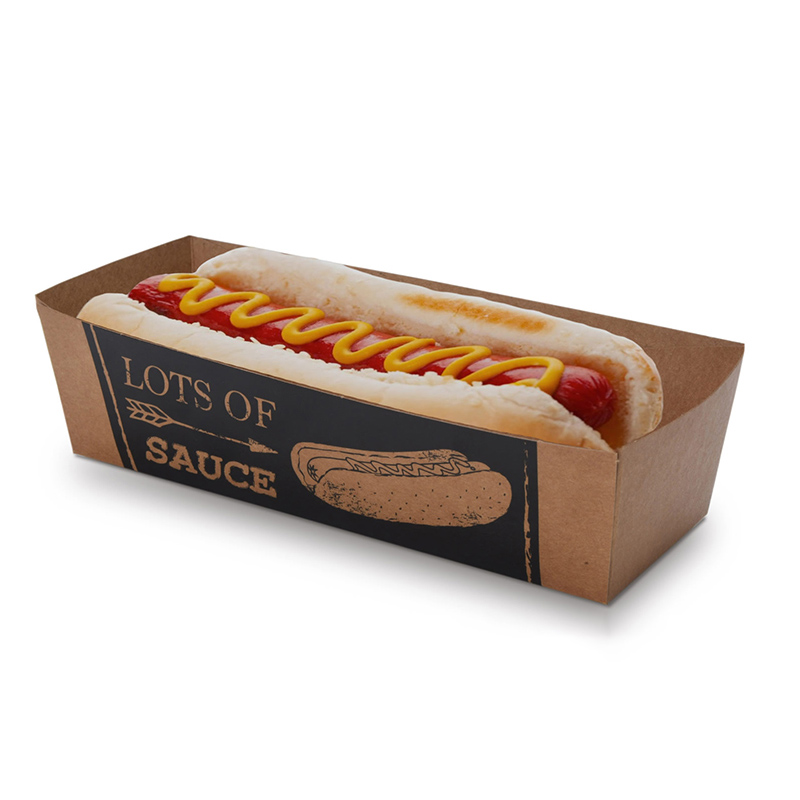
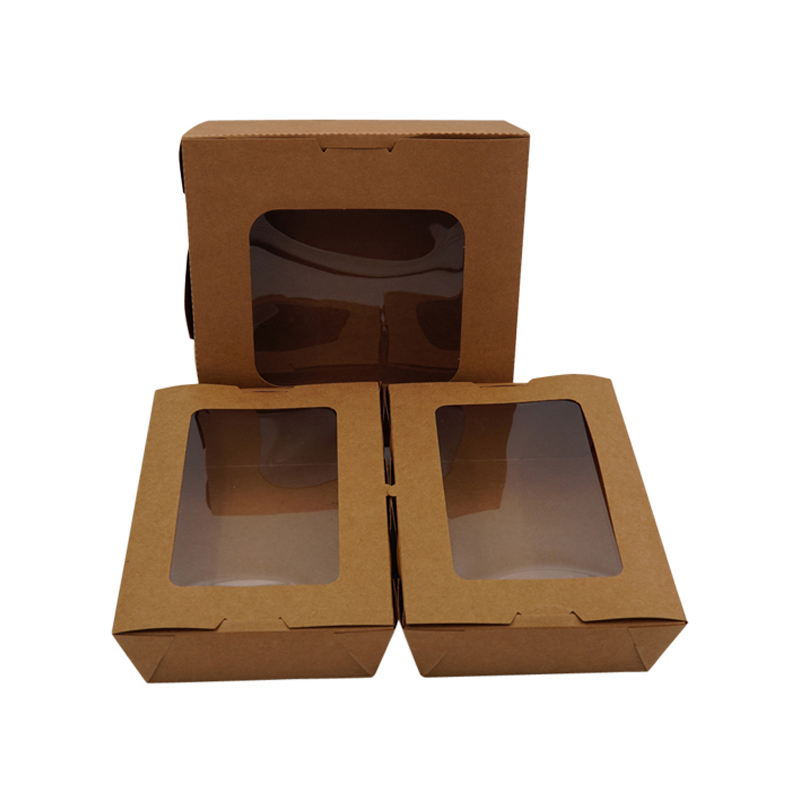
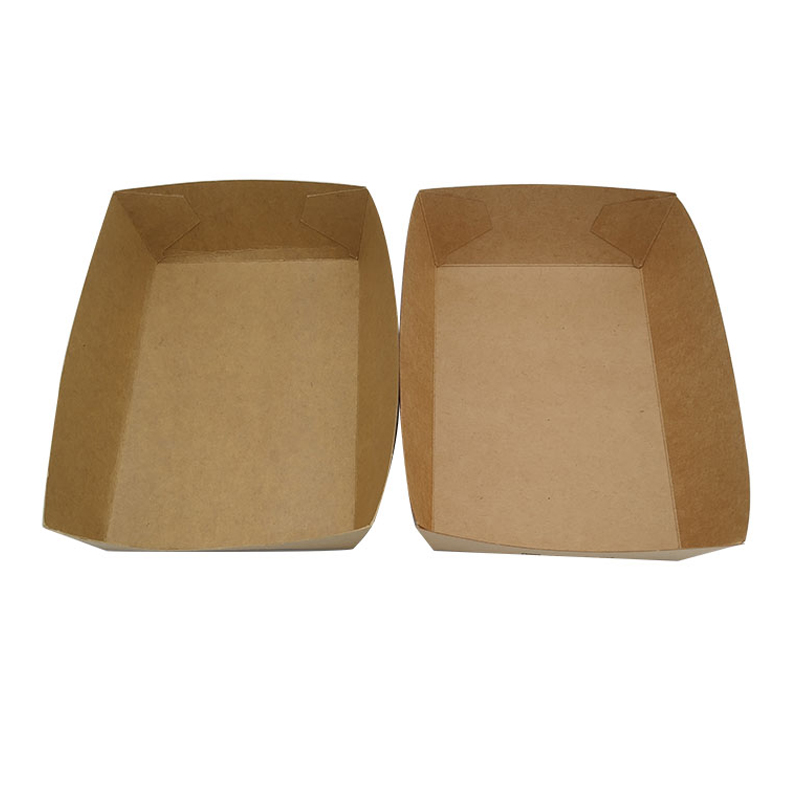
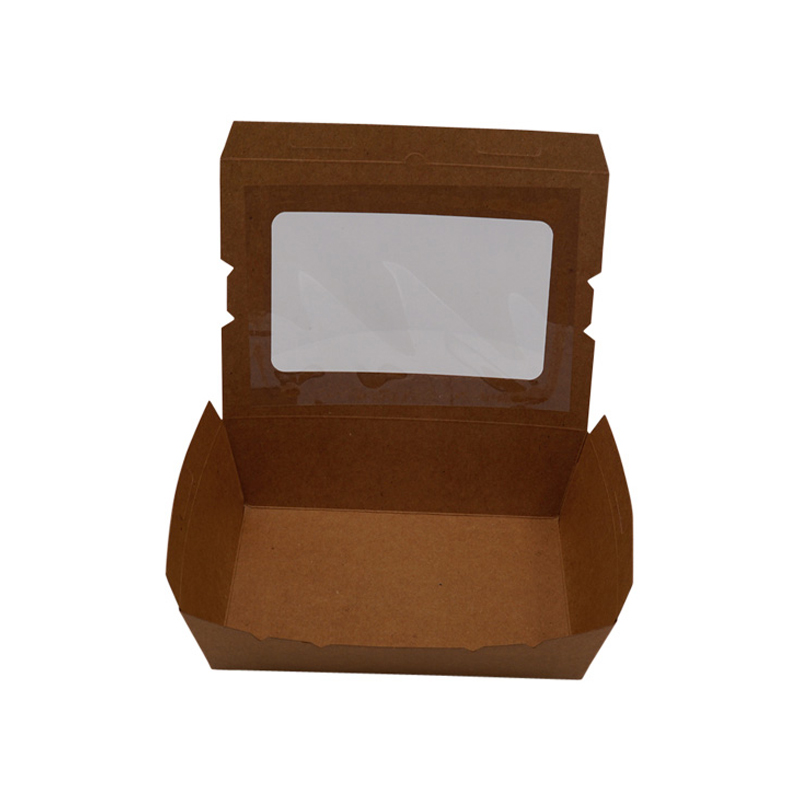
Hot dog packaging food tray box with printing . This food tray with OEM Printing and size . Use 300gsm kraft paper . MOQ is 1000PCS .
Hot dog packaging food tray box with printing (MOQ 1000pcs)
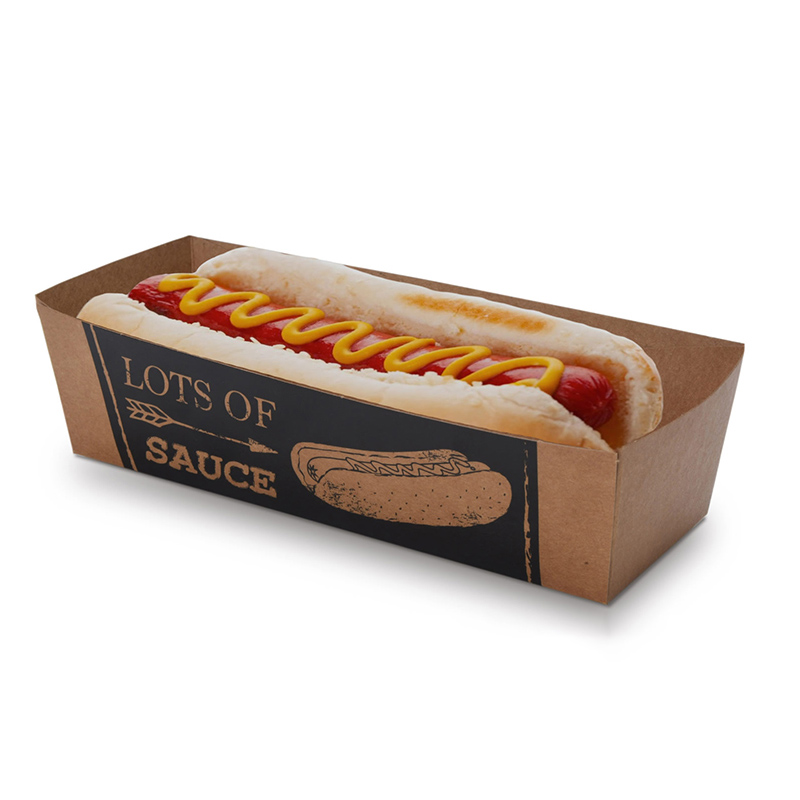
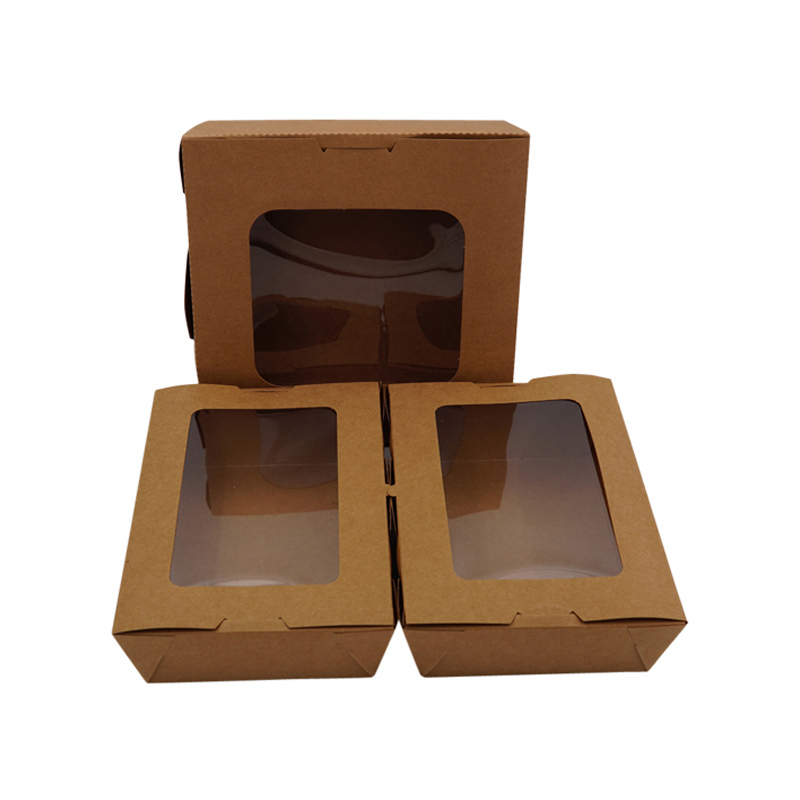
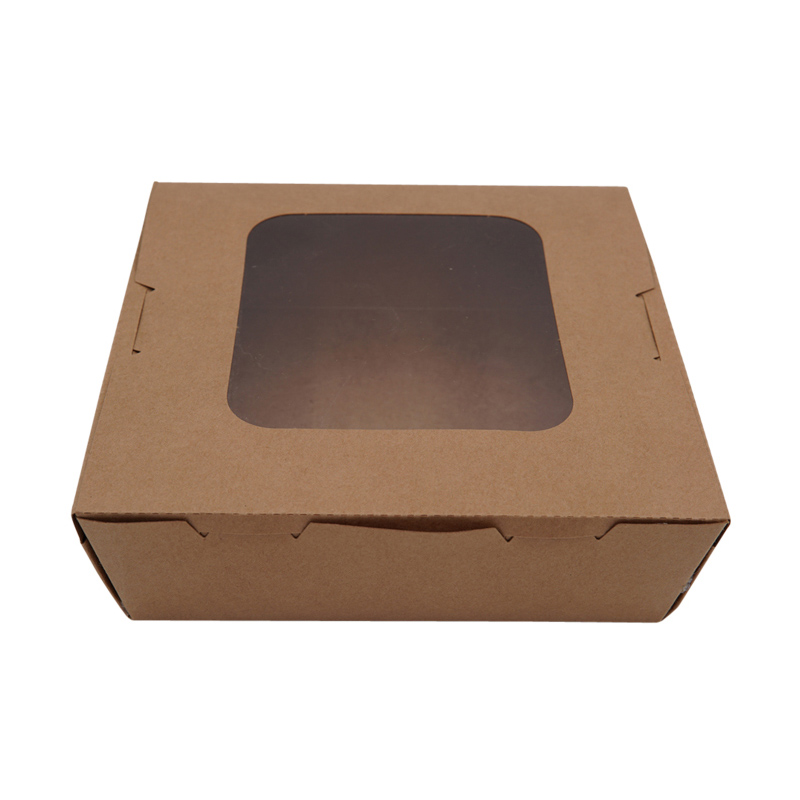
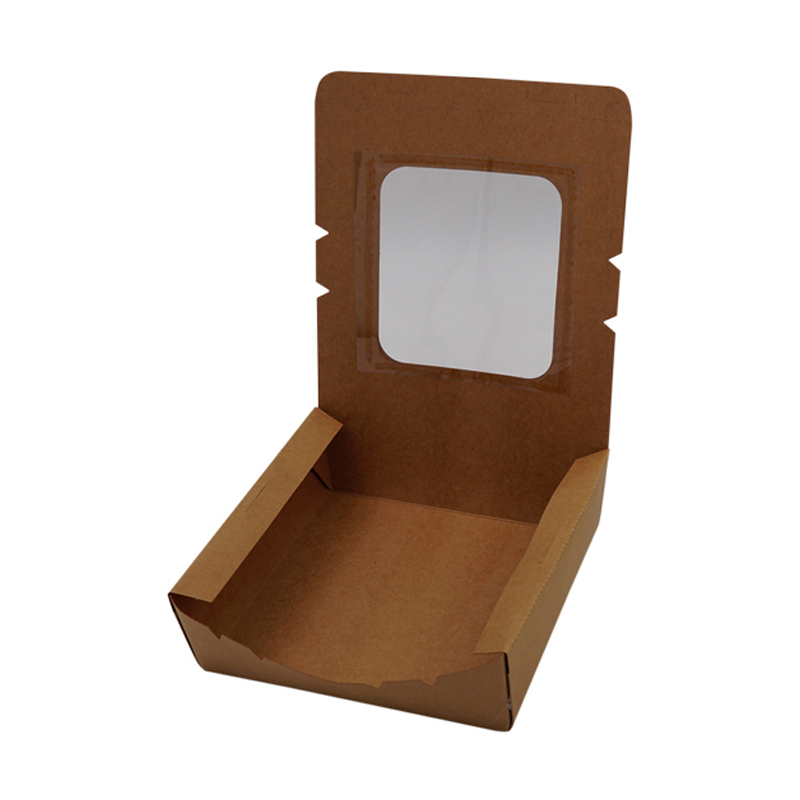
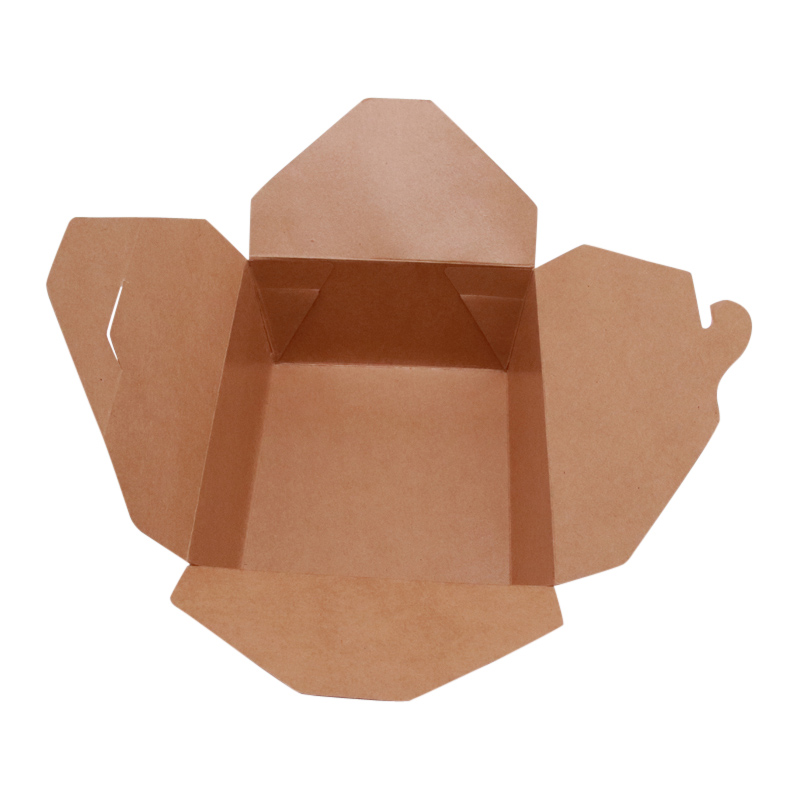
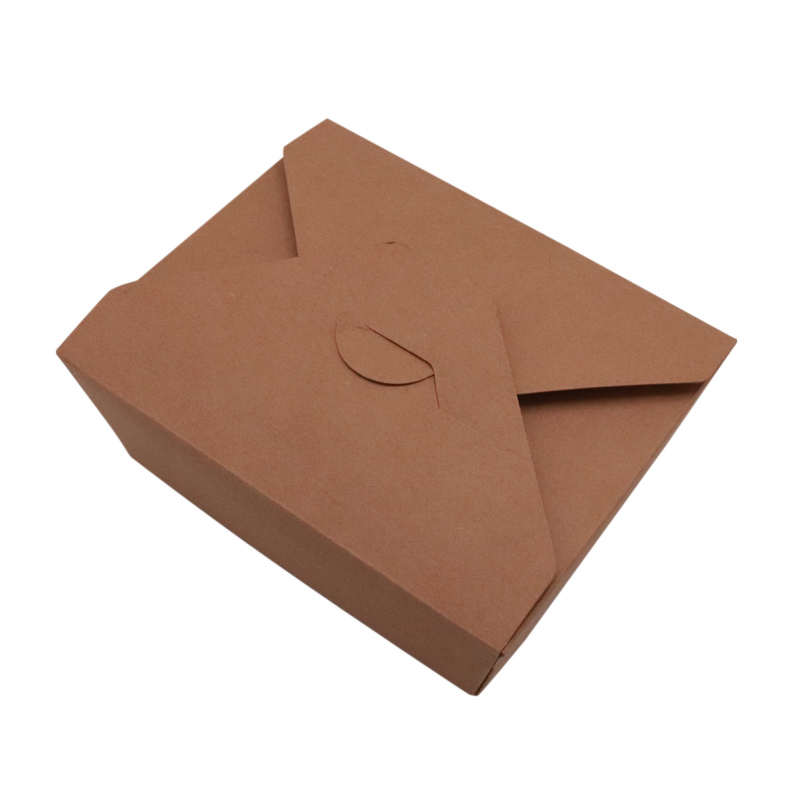
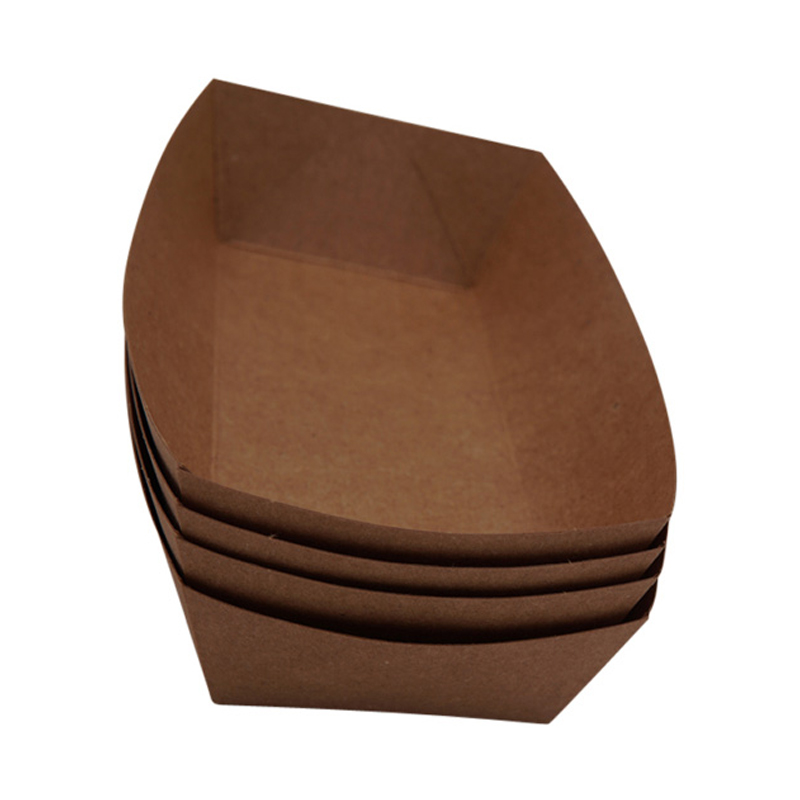
| Name | Hot dog packaging food tray box with printing |
| Paper | 300gsm kraft paper |
| Usage | Hot dag/Fast food |
| Printing | CMYK printing |
| MOQ | 1000pcs |
| Sample | Free |
| Sample time | 1-2 days |
| Production time | 10 days |
Feature of Hot dog packaging food tray box with printing
1. This food tray with OEM Printing and size .
2. Use 300gsm kraft paper .
3. MOQ is 1000PCS ,Price lower than 0.1USD.
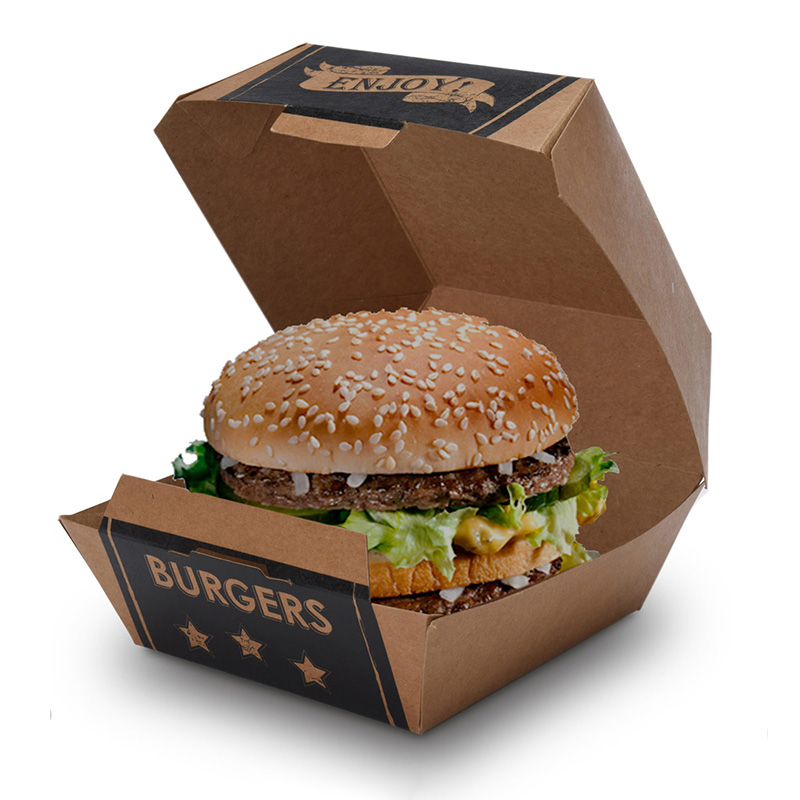
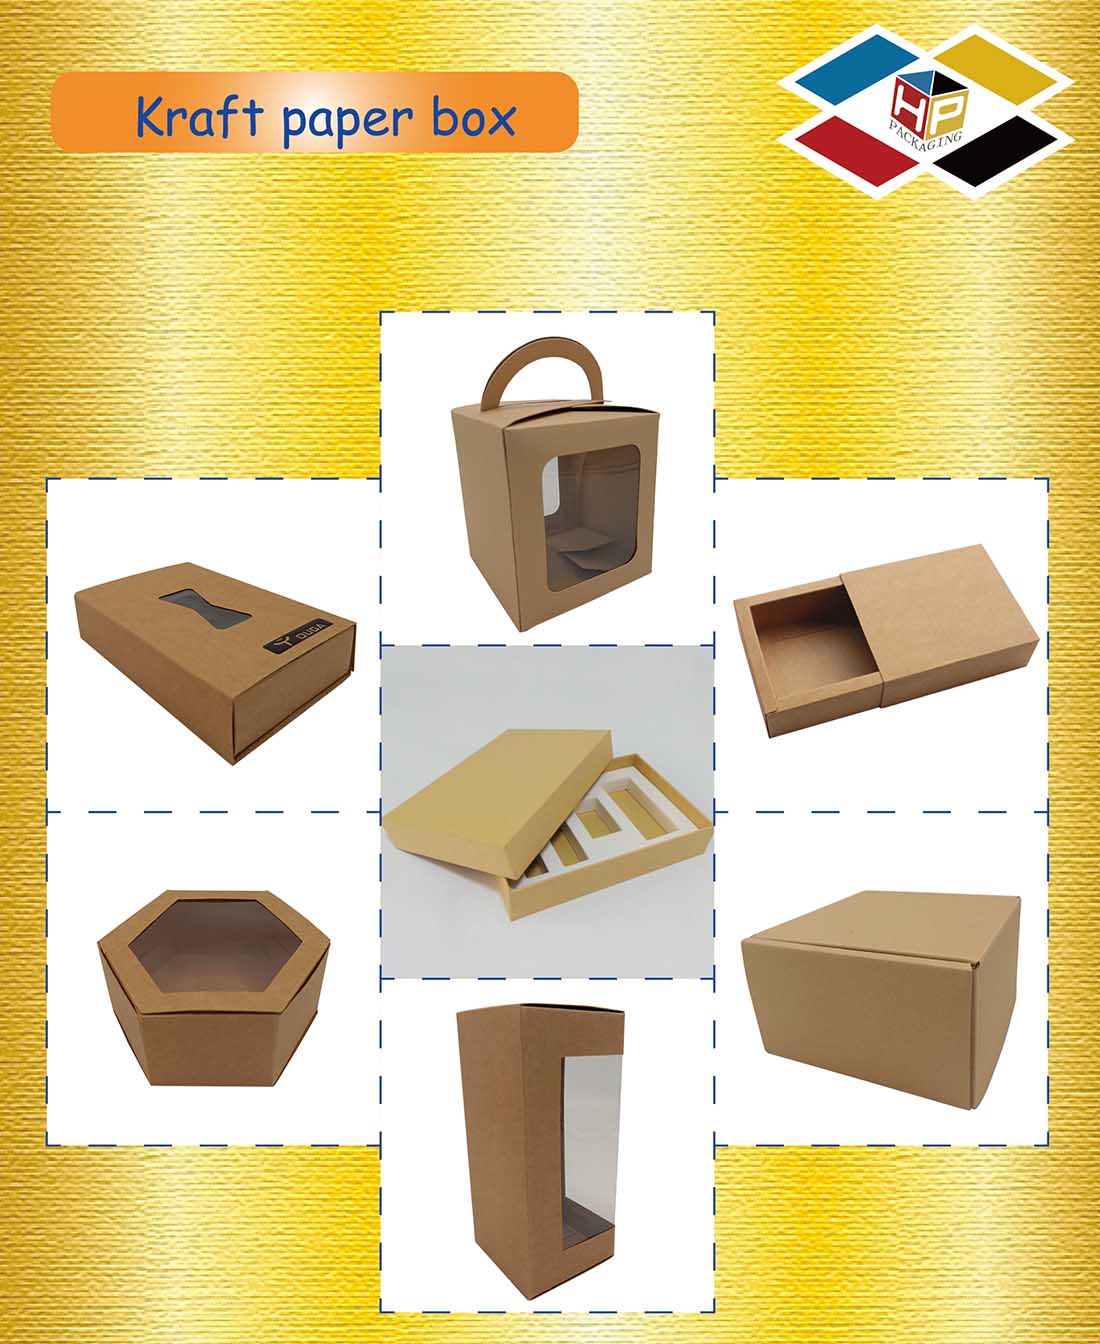
Other kraft paper box
A hot dog box is a type of packaging specifically designed to hold and transport hot dogs. Similar to a burger box, it is typically made of cardboard or other food-safe materials. The hot dog box is usually rectangular in shape and has compartments or slots to hold the hot dogs securely. It is designed to keep the hot dogs warm and prevent them from getting crushed or damaged during transportation. Hot dog boxes are commonly used by food vendors, concession stands, and food trucks to serve and package hot dogs for takeout or delivery. They are also commonly used in fast food restaurants and at sporting events.
To make a good quality paper box, follow these steps: 1. Gather the necessary materials: - Thick paper or cardstock - Scissors or a craft knife - Ruler - Pencil or pen - Glue or double-sided tape - Decorative materials (optional) 2. Measure and cut the paper: - Determine the size of the box you want and measure the dimensions on the paper. - Use a ruler to draw straight lines for the sides of the box. - Cut out the paper along the lines using scissors or a craft knife. 3. Score the folding lines: - Use a ruler and a pen or pencil to lightly score folding lines on the paper. These lines will make it easier to fold the paper accurately later. - Score lines where the paper will fold to create the sides of the box. 4. Fold the paper: - Fold the paper along the scored lines to create the sides of the box. - Use a ruler to ensure the folds are straight and neat. 5. Assemble the box: - Apply glue or double-sided tape to the flaps of the paper. - Fold the flaps inward and press them firmly to secure the box. 6. Reinforce the corners: - If desired, cut small squares or rectangles from the leftover paper. - Glue or tape these pieces to the inside corners of the box to reinforce them and make the box more sturdy. 7. Decorate the box (optional): - Use decorative materials like ribbon, stickers, or paint to personalize and enhance the appearance of the box. - Apply the decorations to the outside of the box, ensuring they are securely attached. 8. Let the box dry: - If you used glue, allow the box to dry completely before using or filling it. By following these steps, you can create a check and good quality paper box for various purposes. Remember to take your time and be precise in your measurements and folds to ensure a well-made box.
